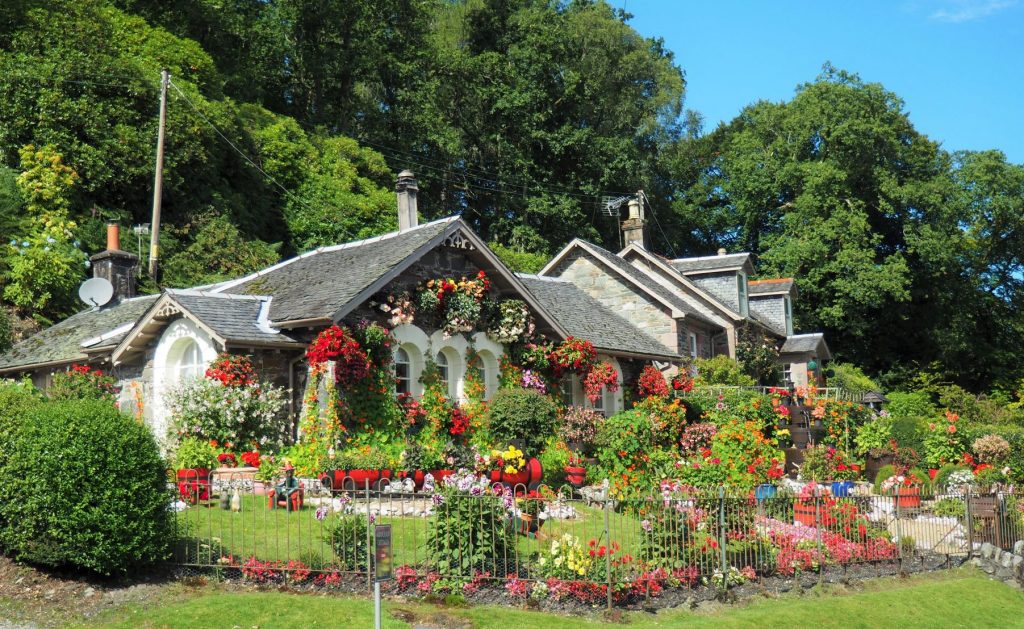
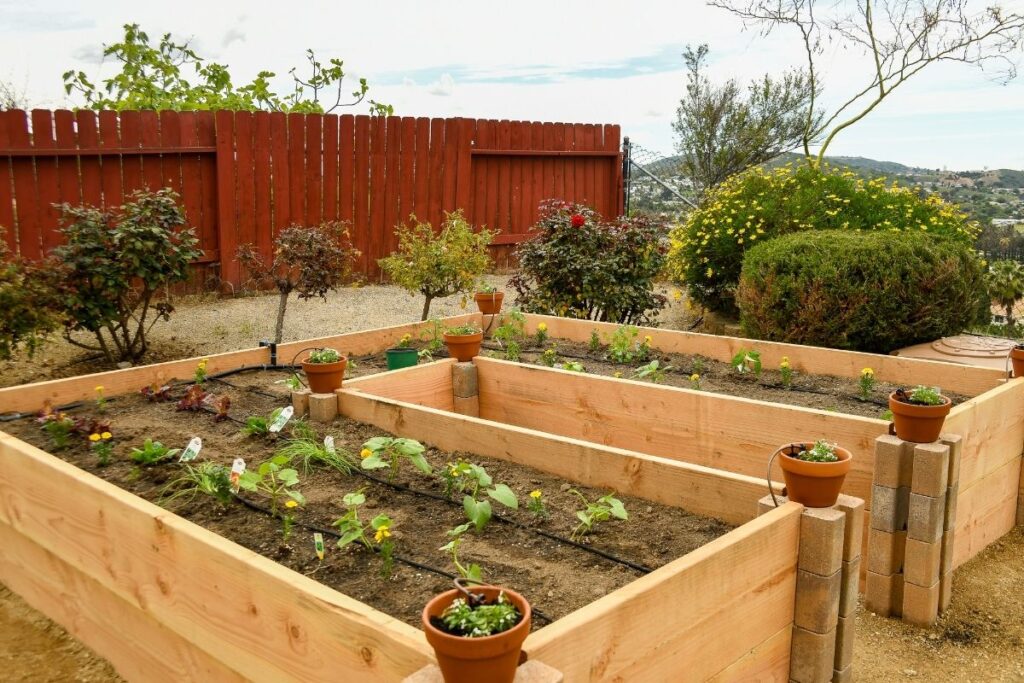
I was lucky enough to inherit two beautiful cedar raised garden beds from previous home owners when I moved into my new home. Lucky in that it gave me a start on getting the garden set up, but unlucky in that I typically plant into my existing garden that I had to leave behind when selling my house.
So what do you do with a raised garden bed? Whether you have a large space or a small space, you can bet there is a solution with any sized garden bed!
Read below on how to get started and the super simple process.
This post contains affiliate links. If you click through and make a purchase, I’ll earn a commission, at no additional cost to you.
How to Plot a Raised Garden Bed

Step 1: First Things First – Measure
If you are buying a garden bed you will be provided the measurements. Be sure to remember them, or write them down as this is going to give you an idea of how much compost, dirt and soil you’ll need.
If you’re building from scratch, or have inherited, measure your final product. You’ll want to take length, width, and especially depth.
Find the volume/cubic feet of the space of your garden bed by taking the width X length X height. That number will give you a nice estimate on how many cubic feet of dirt you will need.
The bags of soil you will find sold in stores will have how many cubic feet is in each bag. It’s great to start a huge garden bed, but keep in mind how you will reach the center of the garden once the plants are fully grown.
Are you leaving a walkable space for the hard to reach places? Are you building it too high to be able to get in and do some weeding when necessary?
Perhaps you’ll want two medium sized garden beds to avoid having all your hard work out of reach!
Pro Tip: A common average is approximately 27 lbs for 1 cubic foot. You may want to borrow a truck, or an extra set of hands to haul that all home!
Step 2: Test Your Current Soil
While you are planning your perfect garden bed, now is the time to test your soil for pH levels to understand how to counter balance any potential issues. Try this super affordable and easy to use testing device.
Organic materials such as worm castings, cow manure, mushroom compost, etc. are all options to consider with how you want to add nutrients to your soil. There are all kinds of fun names for poop manures, like ‘coop poop‘. That one is my favorite.
Step 3: Decide on Soil
Next, you’ll want to identify the type of soil you need to either maximize your current environment, or supplement in what your environment is deficient in.
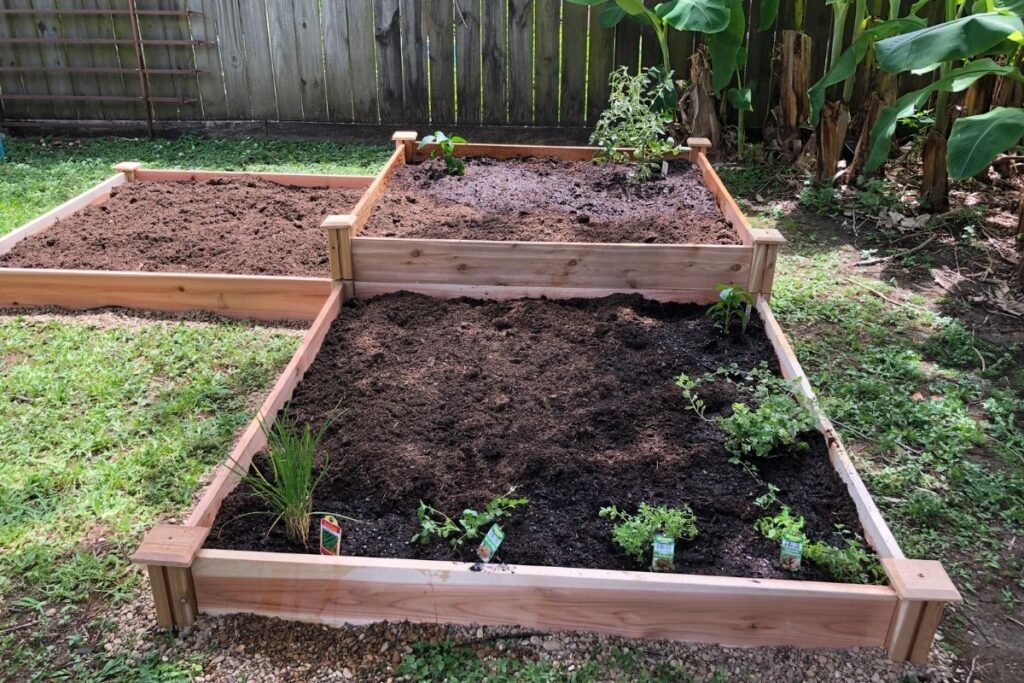
We went with a blend of three different soil options. First a general top soil was added, then a layer of manure and finally an all purpose garden soil.
We built our garden bed for the first time, so we had nothing to work with and had to start from scratch.
Our ground level dirt is very dense and very clay-like, so we knew we had to add a more natural environment for the plants to thrive. While clay-like dirt is good for some plants, it’s not ideal when growing a vegetable garden!
Best Types of Soil for a Garden Bed
First, identify what kind of top soil you’d like, a compost or manure, and a quality soil, like a Miracle Gro or Proven Winners. It is best to do a mixture of types to ensure you have all your bases covered.
You also don’t want to overpay for a quality soil if you don’t need to add it to your entire bed. Sometimes a thin layer is all you need.
Whatever is it you decide, you will want to split it into equal amounts, 33%, of each. For starters, using a standard top soil will help on costs, but also, you’ll have a nice blend of nutrient rich soil to get your garden started. Go for the trifecta!
Step 4: Pick your Spot
Identify where you’ll set up your garden bed. Where does the sun rise and set? What areas of the yard get the most sun, which have shadows or get little to no light?
Do you need multiple beds for multiple plants? This all depends on what you’re trying to grow and what kind of needs the plants have.
Figure out what you want to plant, understand the environment those plants need, then set your garden in the appropriate location. It is also important to recognize what happens in your background when it rains.
Are there areas that puddle and pool water? You do not want to drown your plants and over-water them. They will get root rot! Is there run off from another source of material that could compromise the health of the plants?
Don’t put it in a high traffic area where the kids, or pets, could accidentally throw their toys and balls in and break stems!
Step 5: Plant & Grow
The hard part is now out of the way and it’s time to get to work!
Enjoy planting your favorite fruit and vegetables in your new garden bed for seasons forever! If you went the route of having more than one for space management, try these suggestions.
Grow your tomatoes in one garden bed, your large leaf plants like zucchini in another, crawling cucumbers in their own, and root vegetables off to their own space. Have you tried companion planting?
Not only will it be easier to manage your crops, but it will allow you to provide the specific level and types of care for each plant type rather than an all-in-one approach.
Articles You’ll Love: