You’re definitely not alone if you’re one of those people scratching their head and asking themselves why it’s so difficult to grow rosemary. Out of all of the herbs that we grow at home, either indoors or outdoors, there is surely one that keeps you stumped. I bet everyone has that one herb that is always a challenge.
Sure, some are naturally easier to grow than others. Some grow better as an indoor plant, others are better off outdoors. Either way, what I always hear is that Rosemary always tends to be a troublemaker!
There are a few things to note before we get started. First and foremost, your success with growing Rosemary is going to be dependent on your zone and climate.
Secondly, this herb is native to the Mediterranean. The ideal climate for optimal growth is hot and dry, very sunny and breezy. They are perennials. They are also evergreens.
This post contains affiliate links. If you click through and make a purchase, I’ll earn a commission, at no additional cost to you.
Characteristics of Rosemary
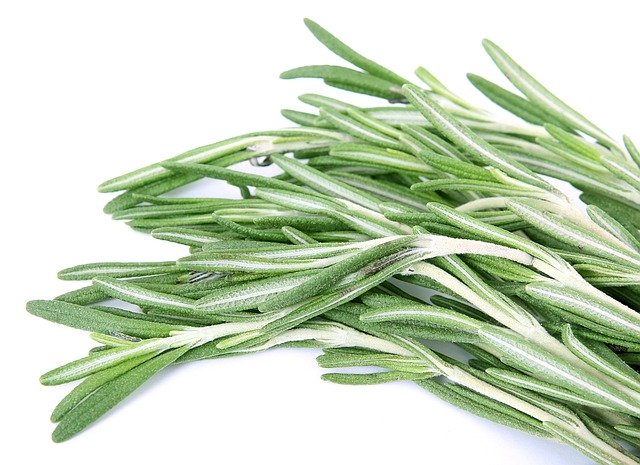
Rosemary is a strongly aromatic herb with an unmistakable fragrance. When cooking with it, you will be most likely using a form of the dried leaves of the plant.
The flavor is rather distinct and often found as a starring ingredient in roasted vegetables and proteins. It also is commonly found in roasts, like pot roasts or roast beef.
This herb typically grows as an evergreen shrub, with pine-like needles. The stems of the plant are thick and woody, with strong hardy branches.
They are drought resistant and grow well in sandy or loamy soil. The herb prefers quick draining environments and drier roots. It is very tolerant of drying.
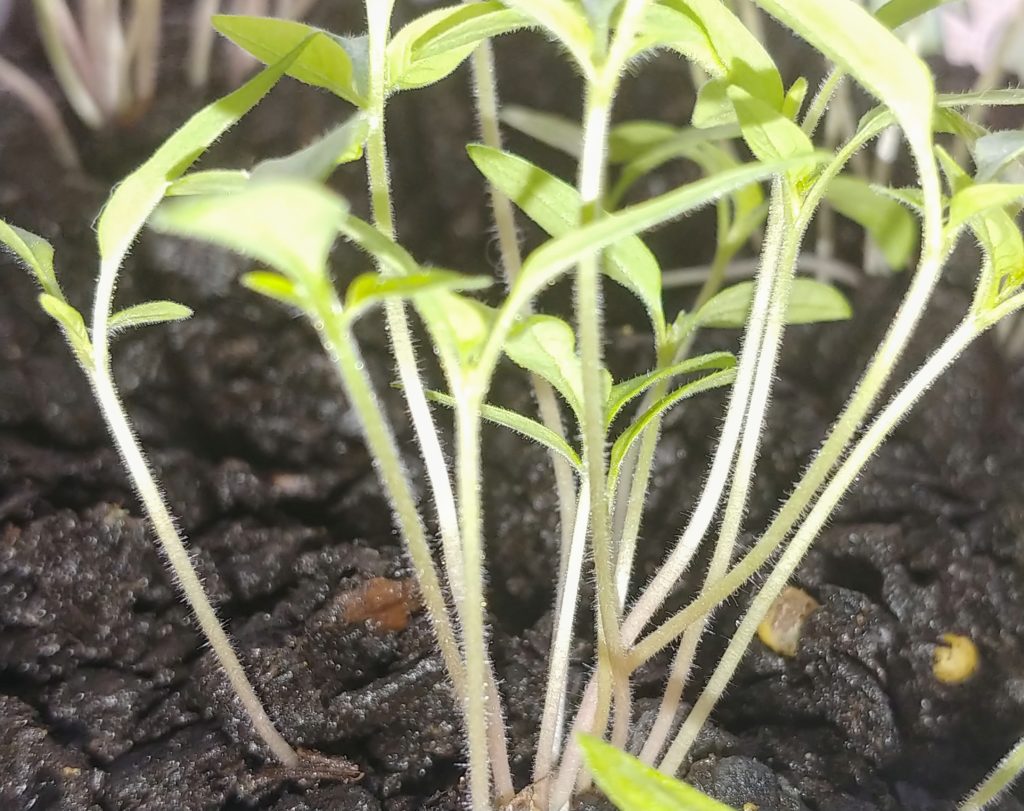
Rosemary is slow to grow, and often times difficult to grow from seeds.
How to Propagate from Cuttings
Did you know that you’re better off growing rosemary from cuttings instead of seeds? Yes, a more mature cutting will yield a better result, though there are a few tricks to be aware of. Not everyone is successful with this method, but it’s worth a try!
The best time of year to start a cutting is at the end of the hot summer season, when the weather begins to cool. Then, cut a 4-6 inch snip, at a diagonal, off of the main branch.
After you have your clipping, remove the lower third leaves and needles carefully. After the needles have been removed, dip the cut end in rooting hormone.
Place into a pot with good drainage and water it well. The trick will be to keep it moist in order to root. Then, keep it in the shade outside or indoors until new growth is visible.
In about 4-6 weeks, it should be ready to be transplanted into the ground.
Growing Indoors
While growing rosemary indoors likely won’t be your long term solution, it can certainly be done. For starters, you want to make sure you have all the right equipment to set yourself up for success.
This means having soil with very good drainage and a large enough pot for good aeration. The best type of pot to use here is a terracotta, or clay, pot.
If you don’t have the ideal soil conditions at home, I recommend purchasing a pre-made mix made soil for succulents, or perhaps bonsai.
You can also add small rocks to the very bottom of your pot before you add soil. Then, after adding your soil, you’ll have a bit of a layer that excess water can easily run through.
As Rosemary can be hard to grow indoors during the winter due to a lack of moisture in the air and lack of sunlight, the plant can become stressed. It’s good practice to provide the plant with a grow light in the winter months.
To ensure success, keep watering to a minimum. Once a week is fine. Otherwise, test the soil and only water if dry. Don’t over-water, rosemary hate wet feet!
Growing Outdoors
As mentioned earlier, this herb likes lots of sun. If you’re planting directly into the ground, make sure you are picking a spot that gets lots of natural light.
Before planting, check your soil. Remember, it likes well draining soil and prefers dry conditions. To better prepare for planting, dig your hole and add a layer of sand and rocks to the bottom of the hole you’ve dug. This will allow for additional drainage.
Water once a week in the warmer months, every week and a half or two in the cold.
As the plant starts growing, it’s a good idea to pinch it back. Once the stems get about 12″ tall and begin to grow side shoots, clip off the soft tips from the top. Avoid pinching the roughly textured, or woody, stems. Try to get closest to a intersection.
Articles You’ll Love: