Succulents have had quite the spotlight these past few seasons, and rightfully so. With the most gentle, delicate colors and unusual shapes and patterns, they can act as a beautiful decorative houseplant for your home.
So what do you do when you have a succulent? Keep it for show? Make a succulent garden? How about when a little leaf falls off, or if you accidentally (ahem) drop it?
Or how about when you have a favorite succulent and want to copy and paste that baby? Keep reading to learn how to easily regrow succulent plants!
They are similar to cacti in that they retain great amounts of water. I love that most about some of these plants because they become fleshy and swollen, and look like they are about to burst when full! And is there anything better in the world than a baby succulent?!
Luckily, it’s super easy to propagate your favorite succulent. While this may seem like a daunting task at first, the hardest part is being patient. VERY patient.
Once you get a knack for it, you’ll find yourself running out of room to showcase each of your beautiful little creations. Here, you will find the easiest way to regrow any succulent plant from clippings or fallen leaves.
This post contains affiliate links. If you click through and make a purchase, I’ll earn a commission, at no additional cost to you.
How to Propagate Succulent Plants from Leaves: Step By Step
Now keep in mind not all succulents can be propagated from their leaves. Some can only be propagated from cuttings like Aeoniums.
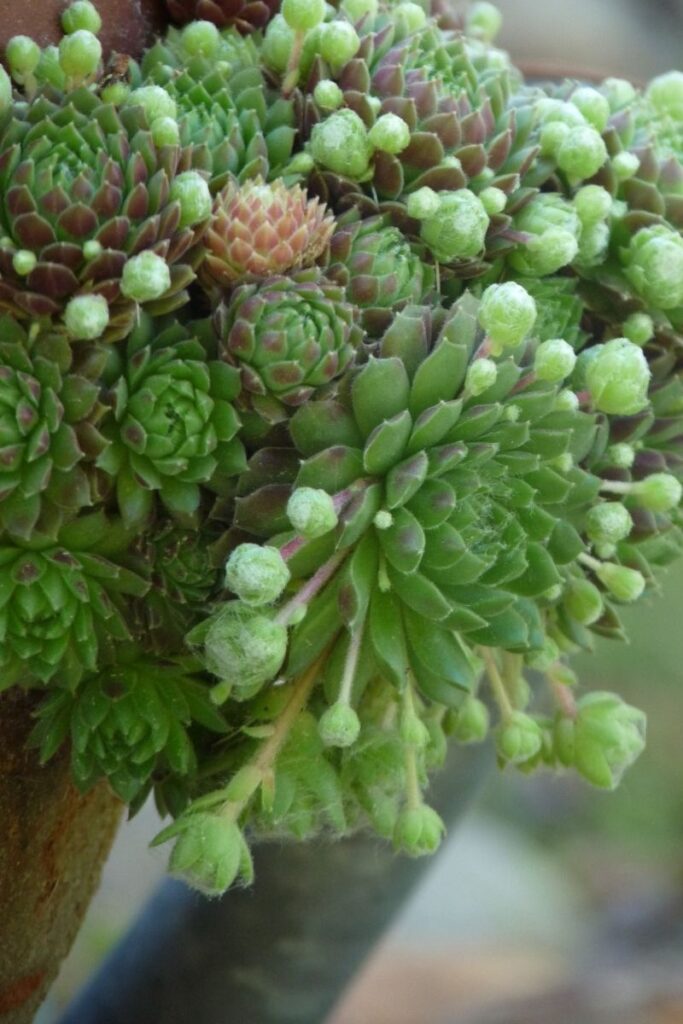
Some succulents like Sempervivum (Hen and Chicks) produce little pups or chicks which can be gently removed from the mother and placed on well draining soil in partial sun with regularly misting until rooted.
The most common succulents that can be successfully propagated from leaves are:
- Echeveria
- Sedum
- Rosularia
- Kalanchoe
- Graptoveria
- Graptopetalum
Step 1
First, you will want to examine your plant for any healthy leaves that seem to have separated themselves from the rest of the plant, or are sitting low on the stalk.
You don’t want to use one that appears to be wilting or dying, but if you find some really good ones you can gently pull these away from the base carefully and use them as your clipping. You want a nice clean break from the stem for the best results.
Then, if applicable, collect any of the recently fallen leaves that have not started dying. You really only want to consider ones that have freshly fallen from the mother succulent and appear very healthy.
Step 2
Lay your succulent clippings on a flat surface, curved side down. The concave side should be facing up and clipping sits on the surface allowing the ends to face up as seen in the photo below. Lay them out with room between them and keep them in a dry place, undisturbed.
A kitchen counter, craft table, dining room table, are all fine as they don’t yet need to be in the sun or be watered. Let them dry for a few days, or at least until the root end that was attached to the plant callouses over and becomes rough to the touch.
To know it has calloused, you will feel that it’s a little rough to the touch. Again, don’t water them or put them in the sun. They just need to be placed out long enough to harden at the edge.
Step 3
Once the root callouses, lay the clippings onto a shallow bed of well draining succulent potting soil. It is OK if they start to look a little dry by the time they get to the soil because now is when you can mist them with a little water.
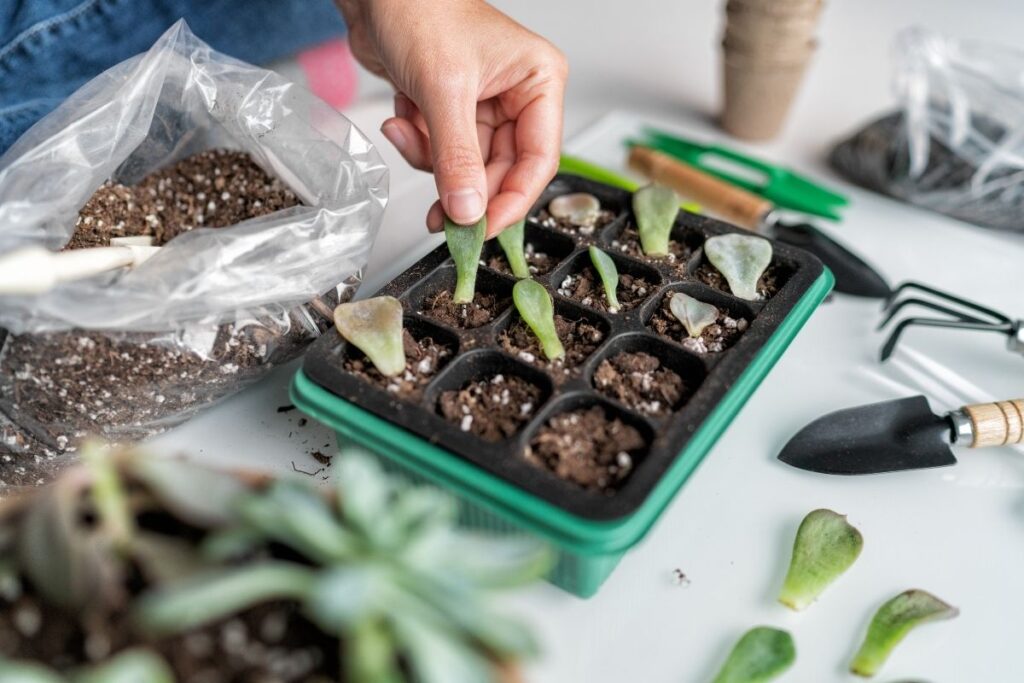
The best method to watering them is to spray and mist them. Do so just enough to dampen the top layer of soil and to replenish their lost moisture, but be careful not to drown them. Remember a succulent is like a cactus and it is easy to over water them.
Even a succulent clipping will retain water well and new roots don’t do well with too much water. This is a key element when trying to successfully propagate succulent plants.
Step 4
In about another 5-7 days, you will notice some of the clippings will die, or never get past the root phase. This happens, especially on your first few tries, but fret not, the rest will grow!
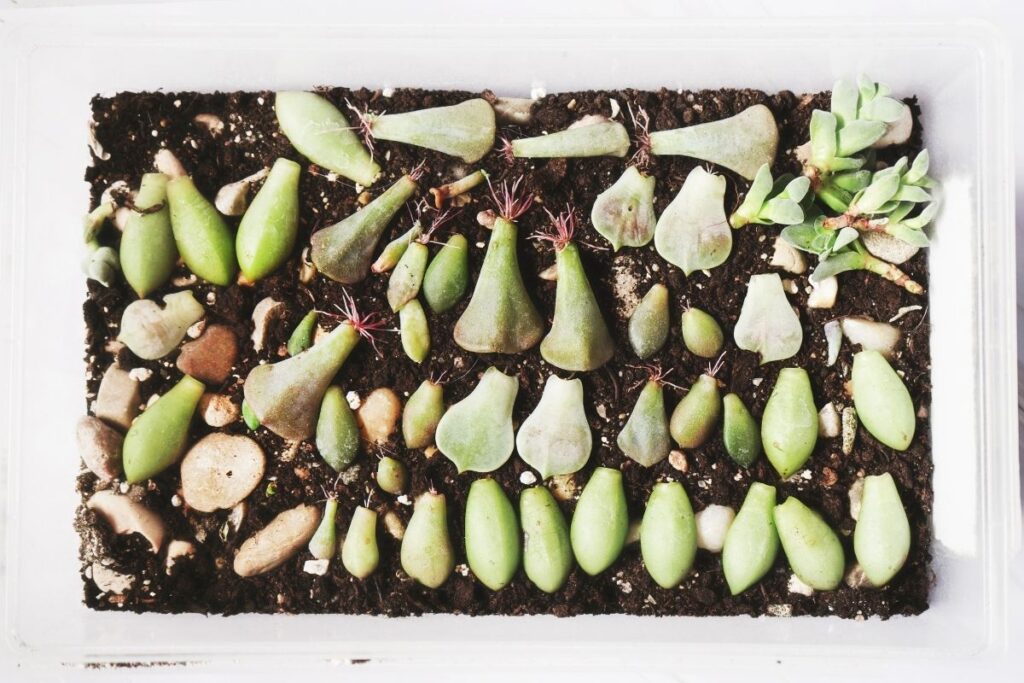
You may start noticing roots sprouting in the successful clippings. Exciting right?
In 2-3 weeks you’ll start seeing baby buds forming and that means YAAAY you’ve propagated your succulent plant successfully!
*UPDATE* How I Do Steps 3 and 4 – The Lazy Method
This is the space saving lazy method for completing both the callousing and rooting step of propagating succulents from leaves.
Grab a cardboard/paper egg carton and simply place your selected leaves cut side up and place somewhere with indirect light.
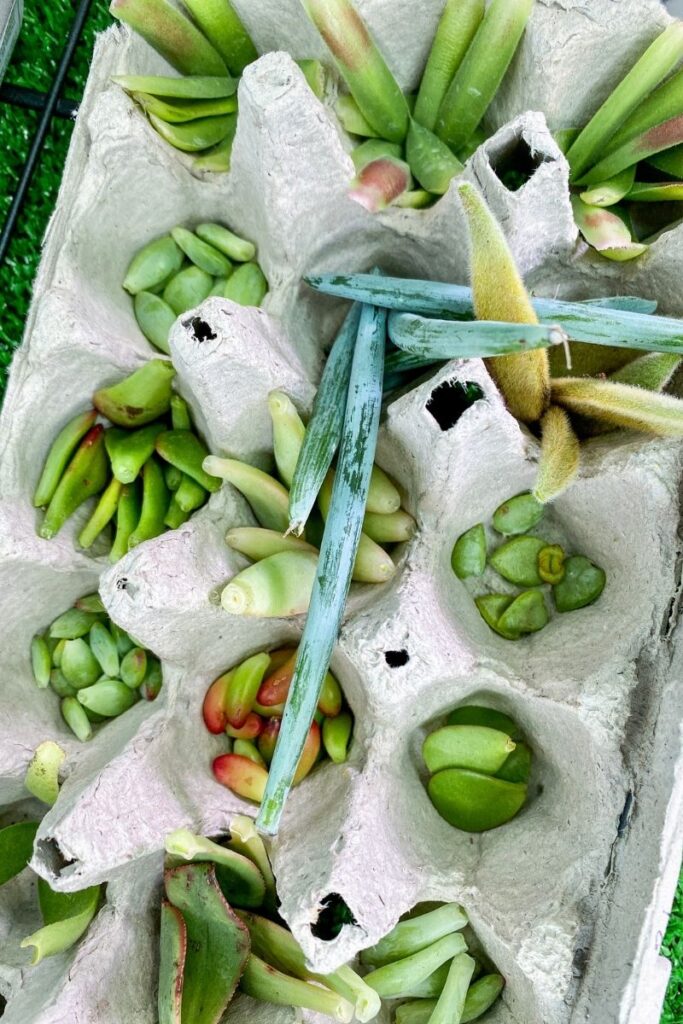
Forget about it for 2-3 weeks and the ones that will succeed will have started forming roots. Feel free to toss the failures or keep hope alive by just letting them be. Mist lightly with water.
Forget about them for another 2-3 weeks and by this time some will have little bitty baby buds. Pat yourself on the back for all the hard work you’ve done and proceed to Step 5.
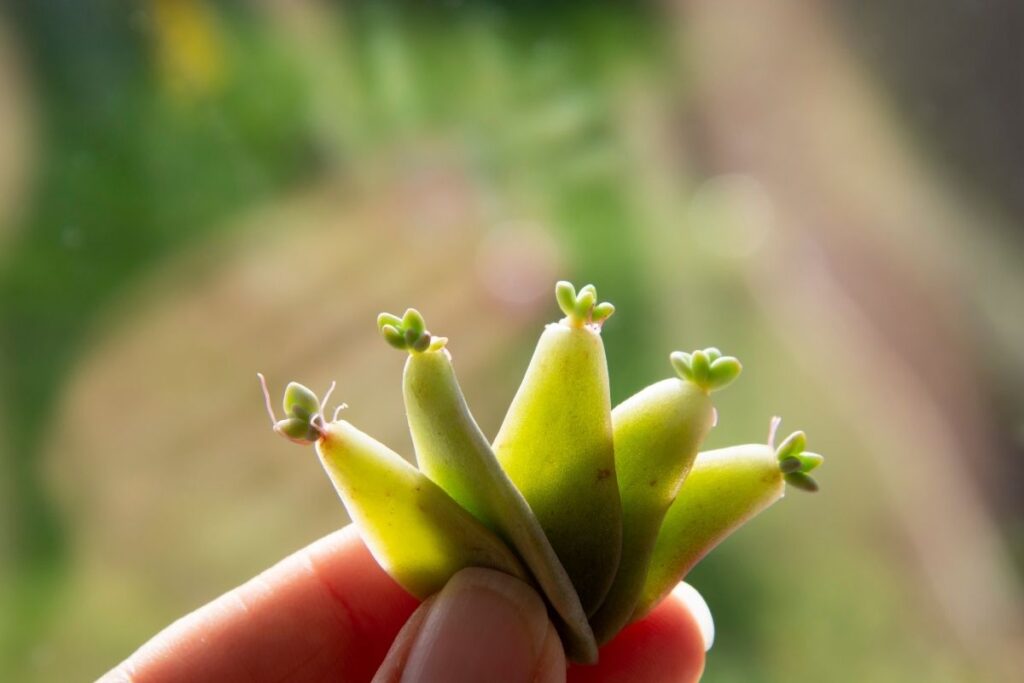
Step 5
At this point the newly grown bud is going to start out living the ‘mother’ leaf which will eventually die and wither away.
After the buds have sprouted with a defined set of roots, plant it in soil root side down. Maintenance from here on out is easy. So, how often do you water succulents? Simple – once the soil is thoroughly dry, or every 2-3 weeks depending on your climate.
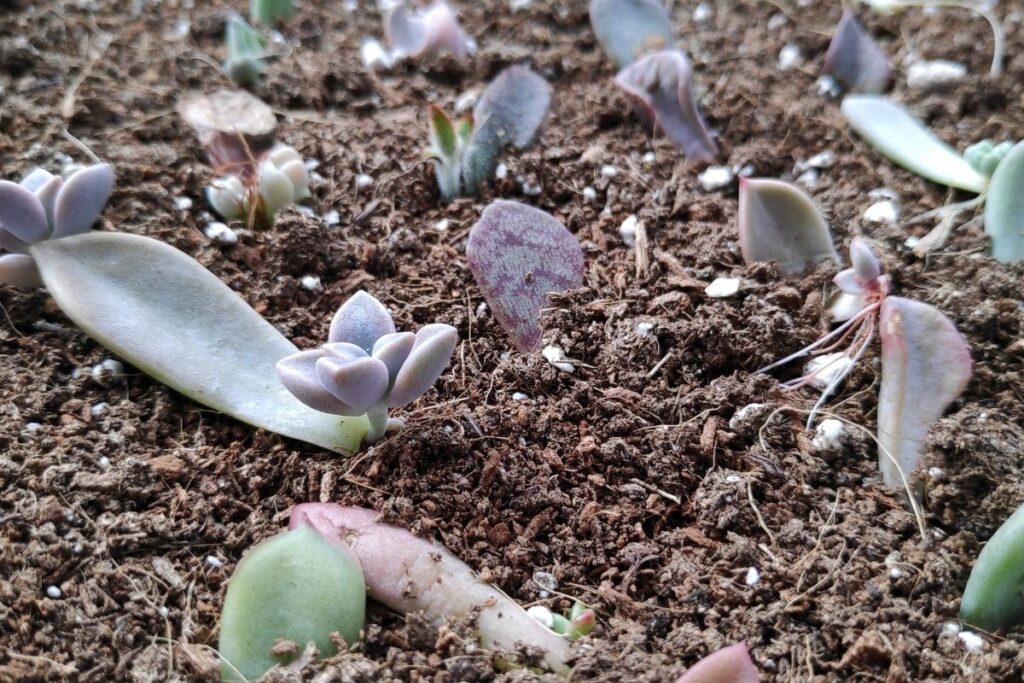
Be patient, as these baby buds can sometimes take quite awhile to grow into the beautiful larger sprout you are used to. Bright side is, it allows you to swoon over those cute little baby buds and your propagation success that much longer.
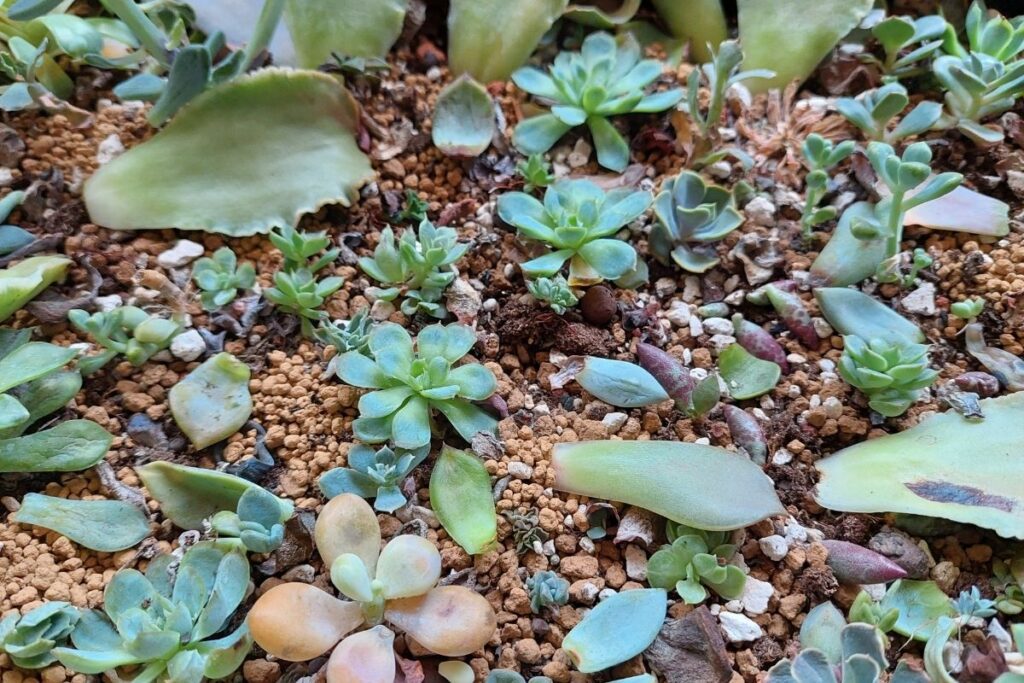
Now that you have mastered the skill of regrowing succulent plants, have fun mixing and matching new displays and pairings! Think about how you will display your new plants.
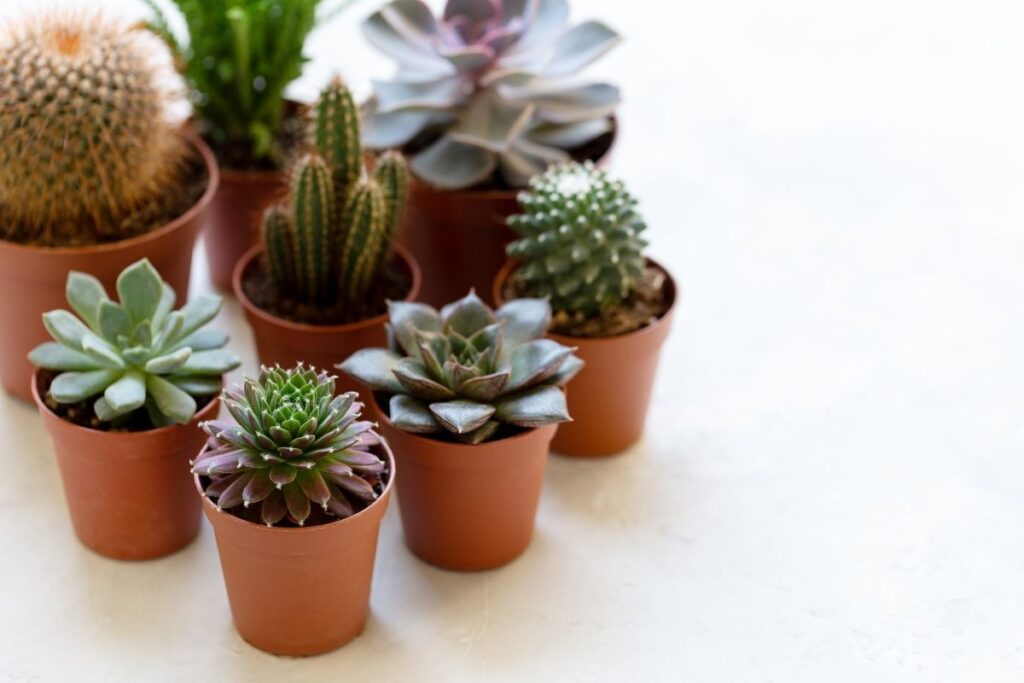
There are so many ways to showcase them, it’ll be addicting coming up with new designs. You can display one plant each in tiny pots. You can pair multiples of the same succulent into one pot for a full look. You can make a wall frame planter.
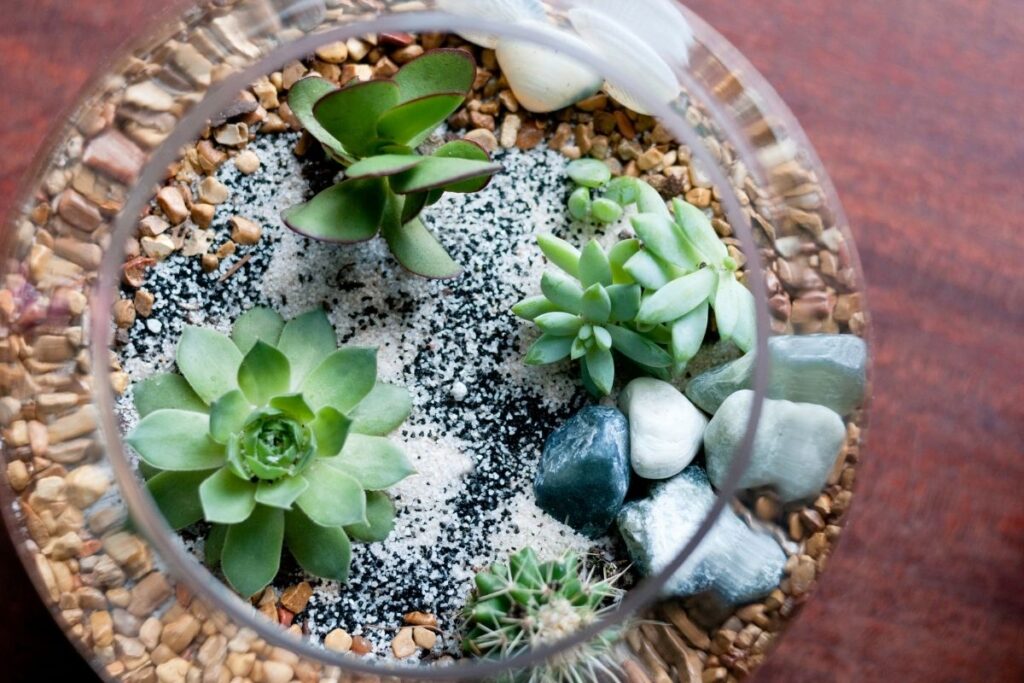
Or, you can pair multiple varieties into one shallow bowl for a pretty succulent garden indoors! My favorite thing to do is add different colors, textures and heights for maximum impact.
DIY Succulent Potting Soil Recipe
Having the right soil for your succulents in paramount for their success. They thrive in sandy, well draining potting soil. Think desert style conditions similar to what a cactus would thrive in.
If you don’t naturally have this kind of soil at home, here is a simple DIY recipe to make your own succulent soil. You’ll see a lot of different variations out there, but this is what I’ve used and it works well for me.
Make Your Own Succulent Soil Recipe
- 2 cups potting soil
- 1 cup vermiculite
- 1 cup coconut coir
- 1 cup perlite
You can also purchase a pre-mixed succulent potting soil if you don’t have access to these ingredients in your local shops.
How to Pot a Succulent
I love placing succulents in unconventional containers like glass bowls, mini ceramic animals, mugs or recycled wine bottles cut in half – all of which normally don’t have drainage holes. This is totally ok! All you need to do is make a nice layer of materials on the bottom to help provide drainage.
I like to do a layer of pretty white polished pebbles (if using something clear or see-through) or clay pebbles for hydroponics if you won’t be able to see them on the bottom. Then add a layer of horticultural charcoal to help guard against bacteria and help absorb water away from the roots. Then place your succulent soil mix on top of this.
Sharing Succulents
Once you have an abundance of riches, it’s time to share the wealth! You can actually turn a profit on your creations if you find a local sales channel that works for you.
Try local flea markets and set up a table. You can also craft them for friends and family. These little cuties also make for a cute gift for events and days like Mother’s Day, birthdays and baby and bridal showers. Everyone loves receiving a succulent, so spread the love!
Or why not set up a succulent swap with your friend and family? You can even do one through the mail! I’m setting one up for my blog groupies – be sure to join our Facebook gardening group if you’d like to get in on our plant swap party!
Articles You’ll Love:


